
Article: Sauna Ventilation: A Homeowner’s Guide to Layout and Heater Choices
Sauna Ventilation: A Homeowner’s Guide to Layout and Heater Choices
Planning a home sauna? It is easy to focus on the wood finish, benches, and heater, then realize you have not decided where the vents will go. Yet sauna ventilation is part of the room plan, not a detail to tack on at the end.
For U.S. homeowners following sauna industry news, one useful takeaway is that ventilation advice needs context. A vent layout shown in one project may not fit a different heater, cabin shape, or manufacturer’s requirements. This guide explains the basics, shows what to discuss with your installer, and points you toward the documents that should guide the final design.
Sauna Ventilation Basics: What Are the Vents For?
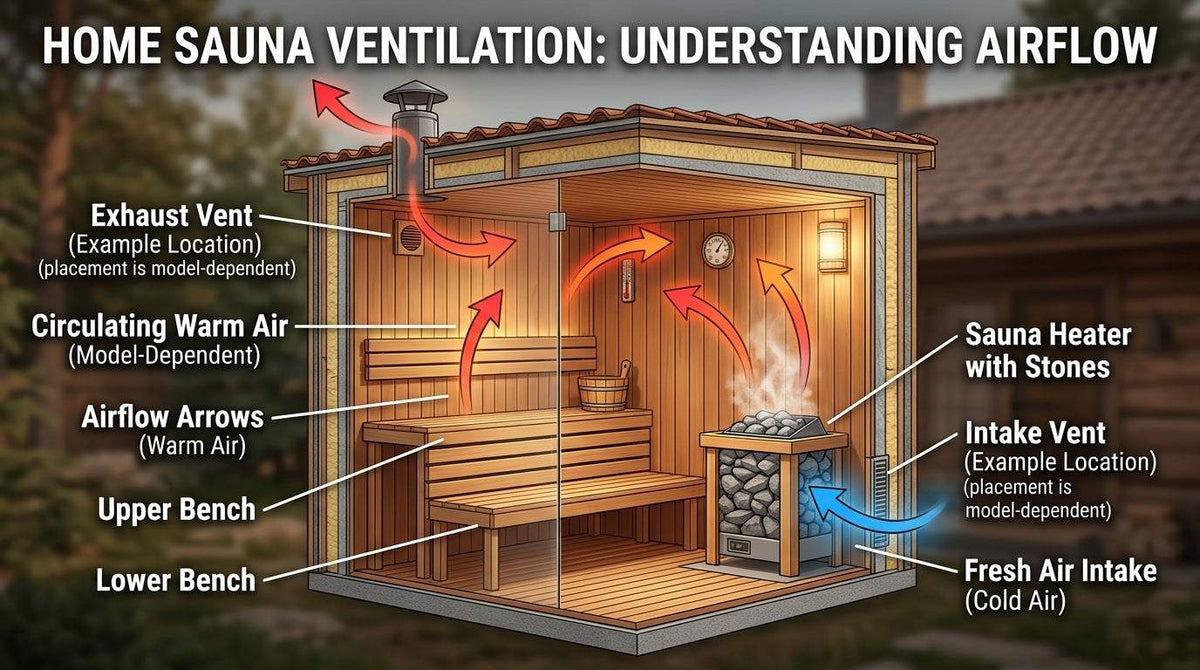
A typical sauna ventilation plan identifies an air inlet, where replacement air enters, and an outlet, where air leaves. The placement of those openings influences how air moves around the heater, benches, and door. Some designs use natural airflow; others incorporate mechanical ventilation. Neither approach has one universally correct vent position.
Start by looking at the sauna as a complete room. Note the heater location, the upper and lower bench positions, the door, and the wall or ceiling areas available for openings. Then check the instructions for your specific heater and sauna model. Manufacturer diagrams may distinguish between different ventilation arrangements, so a drawing from another product is not a substitute for your own manual.
Why Heater Type Changes the Conversation
Electric heaters
With an electric heater, ask where its manufacturer specifies the inlet and outlet for the ventilation arrangement you plan to use. Instructions can vary by model and may address vent positions relative to the heater and benches. If you are considering a fan, confirm whether the selected manual provides a separate mechanical-ventilation layout rather than adapting a natural-ventilation sketch yourself.
For example, picture a compact sauna with an electric heater beside the door and a two-level bench along the opposite wall. Before framing the walls, mark the proposed inlet, outlet, heater, and bench heights on one drawing. That simple sketch gives your installer something concrete to compare with the heater instructions.
Wood-burning heaters
A wood-burning heater adds combustion-air and chimney considerations to the discussion. Do not assume an electric-heater vent diagram applies. Use the stove and chimney manufacturers’ instructions for the exact products selected, and coordinate the room design with the professionals handling the installation. The important planning distinction is that a vent opening intended for room airflow and the air needed by a wood-burning appliance may be addressed separately in product documentation.
Still choosing a heating style? Compare the available Traditional Saunas while keeping each model’s installation documents beside your room sketch. That makes it easier to ask product-specific questions before settling on a layout.
How Room Layout Affects Vent Placement
Even with the same heater, two rooms can present different options. A sauna against an exterior wall may have different available vent routes from one built in a basement corner. A door beside the heater changes where you might have wall space for an inlet. A long bench, window, or sloped ceiling can also affect where an outlet could be placed without interfering with the planned interior.
As you compare layouts, work through these questions:
- Where can air enter and leave? Identify realistic openings and routes on the plan, rather than drawing vents in spaces already reserved for benches or finishes.
- What is beyond each opening? Note the adjacent room or proposed duct route so your installer can evaluate the complete arrangement.
- Are you planning natural or mechanical ventilation? Ask for the manufacturer diagram that corresponds to that choice.
- Does the door position affect your options? Include its location and swing on the drawing before finalizing vent locations.
- Can the design be checked before construction? Review the plan with the heater supplier and installer while adjustments are still straightforward.
If you are early in the project, the home sauna setup guide offers a broader starting point for choosing a sauna and planning the space. Use it alongside, not instead of, your selected product’s documentation.
What to Take From Sauna Industry Updates
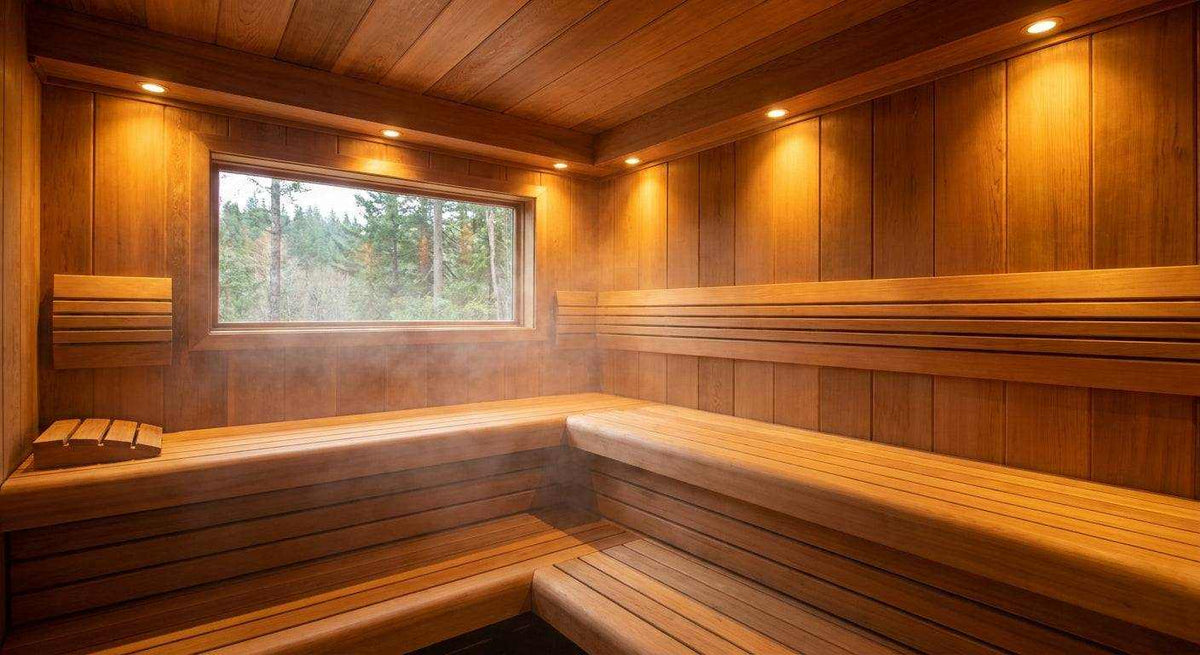
Sauna galleries and new product pages can be useful for discovering layouts, but they often leave out the details that matter to your installation. A photograph may show a heater and beautiful benches without showing the outlet, duct route, or ventilation method. Treat those images as design inspiration, not installation drawings.
A more useful habit is to compare complete systems: heater model, room dimensions, bench arrangement, ventilation method, and the manufacturer’s corresponding instructions. When a supplier describes a new heater or cabin configuration, ask which installation manual applies and whether the proposed room matches its illustrated setup. This keeps a trend you like connected to a plan you can actually review.
A Practical Planning Checklist for Homeowners
- Choose a candidate heater or sauna model. Record its exact model name; brand-level advice alone may be too broad.
- Get the current installation instructions. Ask the seller or manufacturer for the document that matches your model and configuration.
- Draw the room to scale. Include the heater, door, benches, nearby rooms, and possible vent routes.
- Label the ventilation approach. Indicate whether you are discussing a natural or mechanical arrangement, then find the relevant manufacturer diagram.
- Review the plan before finishes are selected. Vent locations are easier to discuss while walls and bench positions are still on paper.
- Confirm model-specific requirements. Have the installer check the applicable manufacturer instructions and local requirements for your project.
Here is the key idea: sauna ventilation is not a pair of holes to place by habit. It is a design decision tied to your heater, your room, and the instructions for the equipment you actually buy. Start with a clear sketch, ask specific questions, and let the applicable product documentation guide the final placement.
References and Further Reading
- Harvia Support — consult the installation instructions for the specific Harvia heater model under consideration; do not apply another model’s diagram by default.
- HUUM Support — locate the documentation for the selected heater and review its installation guidance with your installer.
- Home Sauna Setup Guide — additional context for planning a home sauna.


Leave a comment
This site is protected by hCaptcha and the hCaptcha Privacy Policy and Terms of Service apply.