Home Sauna Kits Canada: Top Picks & Buying Guide
This compact guide helps readers compare ready-to-install options and DIY solutions for creating a private wellness space. It focuses on reliable manufacturers, typical ship times across North America, and what to expect from assembly and service.

Early pioneers introduced modular builds decades ago; some brands trace craft back to years ago in the 1960s and 1974. Those roots explain why many manufacturers still emphasize solid materials, clear instructions, and phone support for buyers in the United States and beyond.
This section previews how cedar sauna packages are organized by room depth, which heater brands to consider (HUUM, Harvia, Homecraft), and which accessories matter most. It also covers key budget drivers—dimensions, cedar grade, door and glass options, and heater capacity—so you can set realistic expectations before you shop.
Key Takeaways
- Easy comparison: The guide simplifies choices between factory-direct and DIY-ready systems.
- Material matters: Western red cedar offers stability and aroma for long-term use.
- Heater options: Electric brands and controls shape performance and price.
- Practical setup: Assembly is DIY-friendly; a licensed electrician must handle wiring.
- Accessories finish the space: Buckets, ladles, and thermometers complete the ritual.
Shop Home Sauna Kits by Room Depth for a Perfect Fit
Room depth is the first dimension to lock in when planning a cedar sauna layout for your space. Start by deciding how many people you expect to use the room at once, then match depth to comfort and benching style.
Compact: 3 ft deep layouts for 1–2 users
Compact 3 ft deep designs save space while offering functional seating. Common examples include 3x3x7 (one person) and 3x8x7 (two to three people).
Mid-size: 4–5 ft deep kits for 2–5 users
Mid-size depths allow ergonomic benching and better legroom. Typical fits are 4x8x7 and 5x7x7 for groups of four to five with upper-bench lounging.
Spacious: 6 ft deep configurations up to 6 users
Six-foot deep rooms suit families or groups who value circulation and two-tier benching. A 6x8x7 layout often hits the sweet spot for five to six people.
How capacity changes with depth, width, and benching
- Depth narrows choices: pick a depth category, then compare widths and bench styles to refine capacity.
- Benching matters: upper/lower tiers and corner returns change how many can sit or recline.
- Installation factors: door swing, heater clearance, and airflow affect usable space.
| Example Dimension | Depth | Common Capacity | Typical Ceiling |
|---|---|---|---|
| 3x3x7 | 3 ft | 1 person | 7 ft |
| 4x8x7 | 4 ft | 4–5 people | 7 or 8 ft |
| 5x7x7 | 5 ft | 4–5 people | 7 or 8 ft |
| 6x8x7 | 6 ft | 5–6 people | 7 or 8 ft |
Indoor or Outdoor Installation: Choose the Experience You Want
Placement drives performance, durability, and the style of sessions you’ll enjoy. Decide early whether the unit will drop into an insulated, framed interior room or be mounted inside a weather-protected outbuilding.
Drop-in to a pre-framed indoor room
Indoor installs are designed to drop in to a finished, insulated space. Common locations include basements, bathrooms, or fitness suites where framing, vapor barrier, and power are already planned.
These installs heat more quickly because ambient conditions stay stable. That makes short, regular sessions convenient.
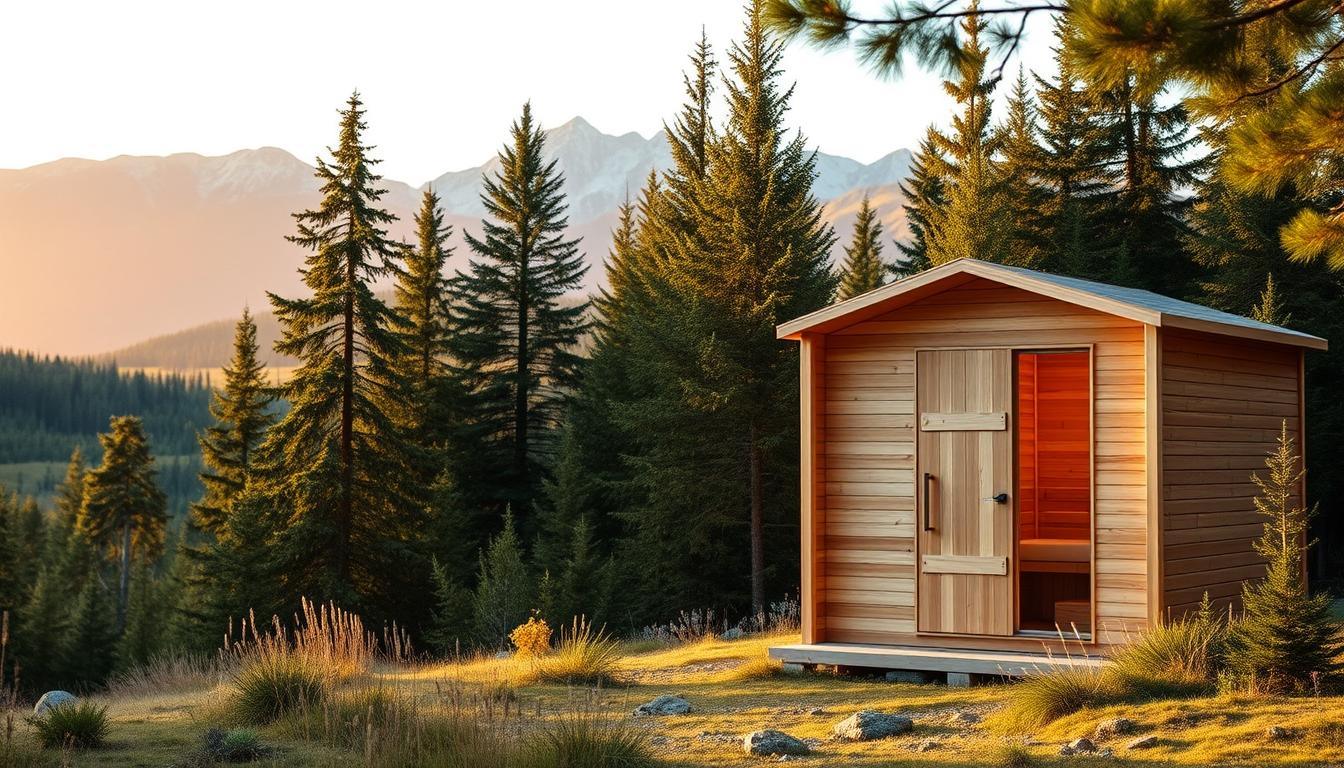
Install inside a shed, garage, or cabin outdoors
Outdoor placements mount the cedar interior into a framed, insulated shell like a shed or cabin. The structure must be moisture-managed and ventilated before lining the paneling and benches.
Outdoor setups add atmosphere but may require longer warm-up times. Site planning reduces wind exposure and eases drainage and access.
- Kit supplies: cedar paneling, benches, and trim; the shell and substrate are owner-provided.
- Electrical: a licensed electrician must wire the heater, controls, and safety elements to code.
- Practical checks: plan door swing, material access, make-up air, and service clearance before ordering.
| Install Type | Typical Location | Warm-up | Key Requirement |
|---|---|---|---|
| Indoor drop-in | Basement, bathroom, fitness room | Faster | Framed, insulated, power routed |
| Outdoor shell | Shed, garage, cabin | Moderate (longer) | Weather protection, ventilation |
| Hybrid (attached) | Garage-adjacent or enclosed porch | Variable | Proper vapor barrier and drainage |
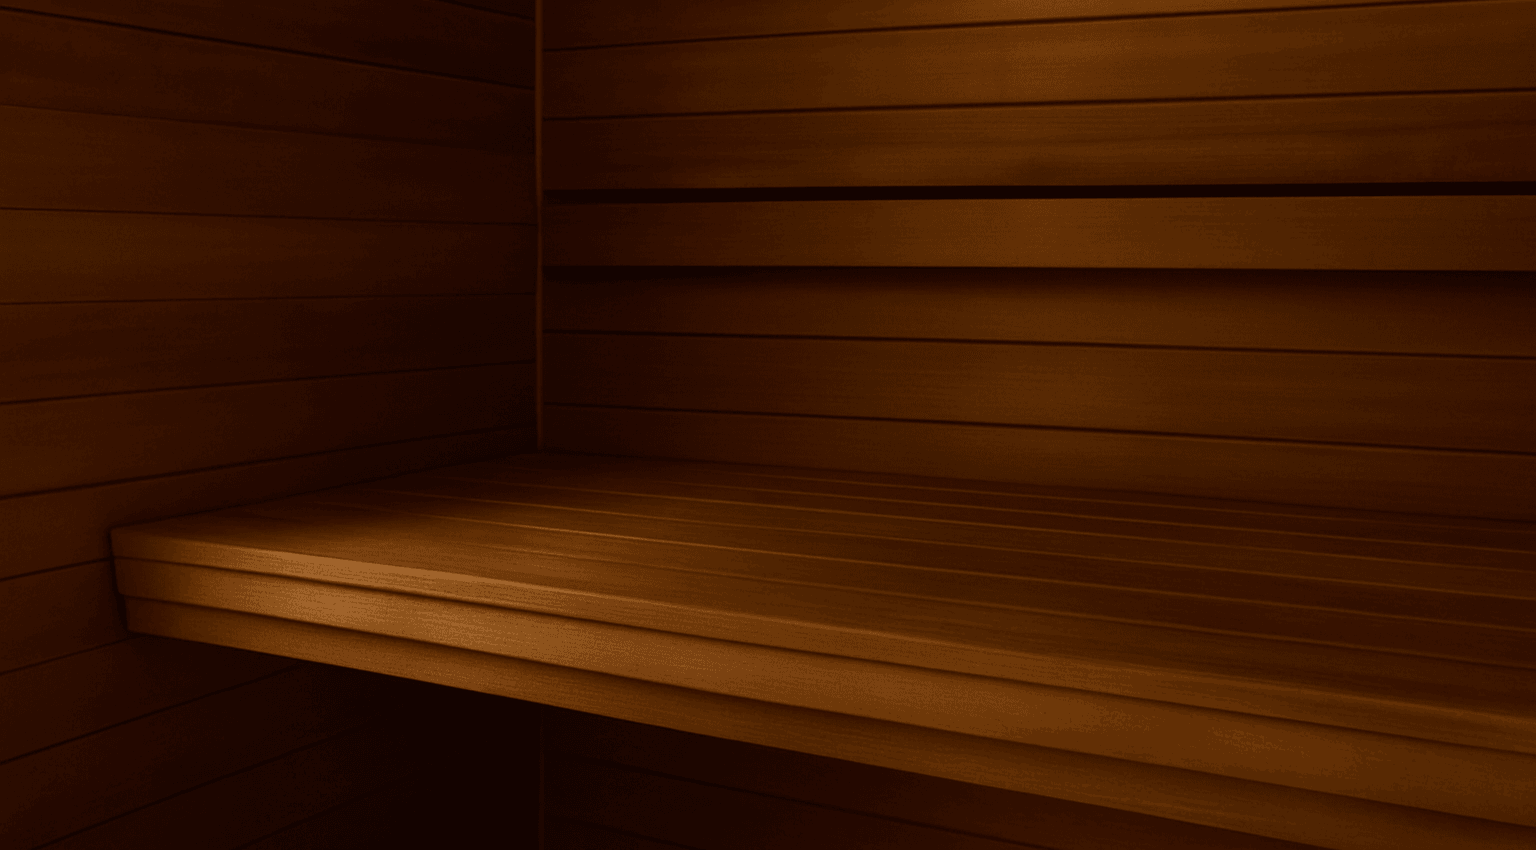
Premium Materials: Canadian Western Red Cedar, Clear or Knotty
Choosing the right wood grade sets the visual tone and long-term performance of a cedar interior. Material selection affects scent, heat behavior, and how the room feels to the touch.
Clear cedar for modern, uniform aesthetics
Clear western red offers a smooth, even surface that supports contemporary design. It has minimal knots, which creates a continuous grain and premium finish.
Clear cedar is ideal where consistent color and refined trim work matter most.
Knotty cedar for warm, rustic character
Knotty stock brings visible grain and a cabin-like warmth. This option is budget-friendly yet durable under heat and humidity.
The natural knots add texture and a relaxed, organic feel to the space.
Hybrid builds: clear benches with knotty walls
Hybrid layouts combine the best of both grades. Clear benches keep skin contact surfaces smooth.
Knotty walls and ceilings add depth and reduce cost without sacrificing performance.
- Benchmark species: Canadian western red cedar resists moisture and holds shape.
- Comfort: Low density moderates surface temperature for longer sessions.
- Finish: Kiln-dried, profiled stock tightens joints and lowers maintenance.
- Design mix: Pairing cedar with glass or stone refines the overall experience.
Heater Options and Sizing: Electric and Wood-Burning
Heater choice hinges on room volume, exposure, and whether you prefer electric convenience or wood-fired ambiance.
Right-size by cubic volume. Calculate length × width × height to get cubic feet, then match kW to that number. A 5×6×7 room (210 ft³) typically calls for a 6 kW heater.
Electric models from HUUM, Harvia, and Homecraft support stones and comfortable löyly. These sauna heaters offer timers, safety controls, and digital or analog interfaces for daily use.
Glass walls, exterior exposures, or 8 ft ceilings may require stepping up one power class to keep upper benches warm for people during long sessions.
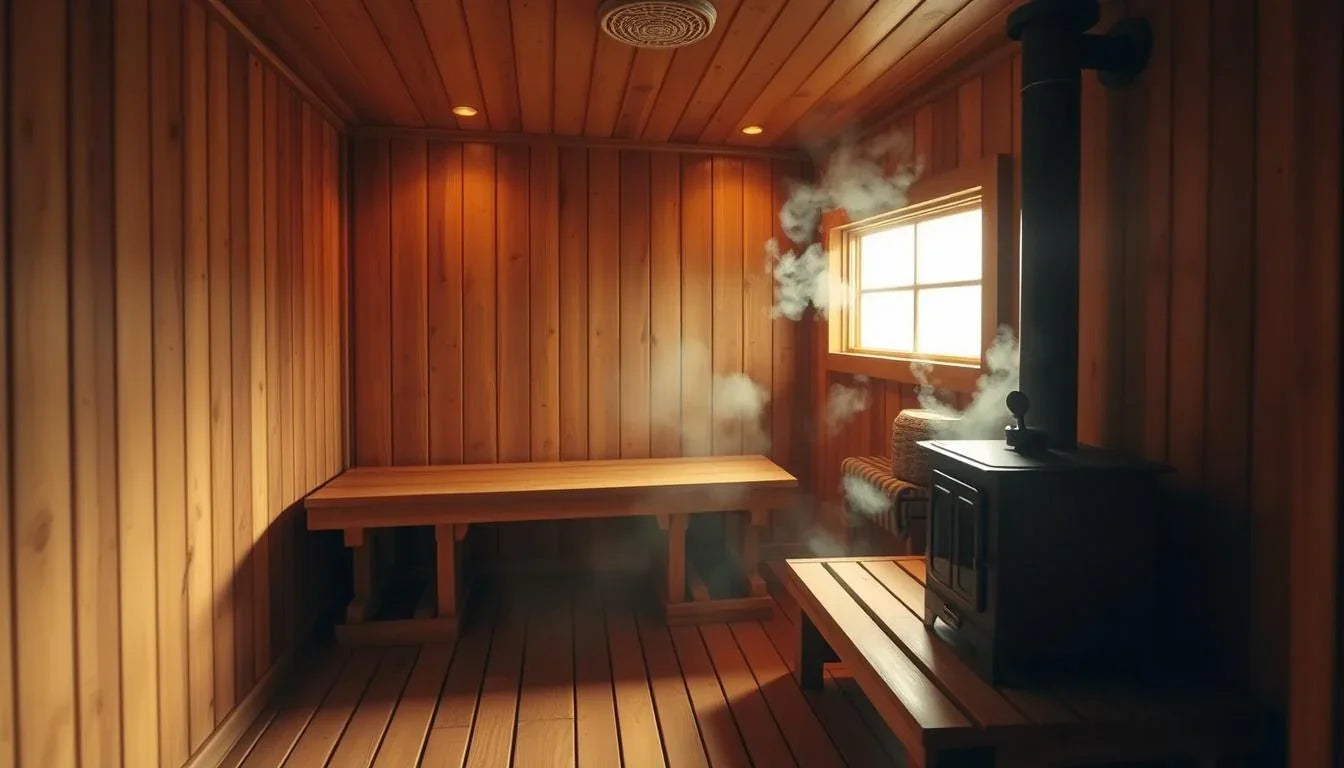
Consider a wood-burning stove for off-grid or outdoor shells where a fire-forward mood matters. Ensure proper venting, clearances, and local code compliance.
https://www.youtube.com/watch?v=L2HjUZ7Jhgg
| Heater Type | Best For | Key Benefit | Typical Note |
|---|---|---|---|
| Electric (6 kW example) | Small to mid rooms | Fast, consistent heating | Requires proper circuit and controls |
| Electric with stones | Traditional steam lovers | Allows löyly with small water pours | Follow stone loading & guard rules |
| Wood-burning stove | Outdoor shells, off-grid | Classic ambiance, strong radiant heat | Needs chimney, clearances, venting |
What’s Included in a DIY Sauna Kit
A well-organized kit reduces layout guesswork by supplying measured cedar panels and matched hardware. The goal is to give installers clear parts and a predictable sequence so the interior comes together in a single weekend.
Cedar paneling, benches, trim, and core components
Most packages include pre-measured cedar cladding for walls and ceilings, bench assemblies, trim, and fasteners. These core components are profiled to fit a framed shell and cut site work significantly.
Hardware and profiles are matched for consistent reveal lines and tight joints that stand up to heat and humidity.
Optional doors, windows, and heaters
Doors, glazing, and electric heaters are sold as optional add-ons so buyers can tailor aesthetics and performance. Price builders help pair compatible heaters and controls to avoid mismatches.
- Detailed instructions show sequencing: framing check, vapor barrier, paneling, bench install, and accessory mounting.
- Optional windows add light but may influence heater sizing; plan accordingly.
- Packaging protects cedar faces and edges so parts arrive ready for assembly.
"Interior assembly is weekend-friendly; final wiring must be completed by a licensed electrician."
In short: a typical sauna kit focuses the materials and components on finish work, leaving structural framing and electrical connections to the relevant trades.
home sauna kits canada: Built in Canada, Shipped Across North America
Buyers get Canadian-made interiors and fast logistics that simplify project timelines. Production combines local milling with strict grading for western red cedar and matched components. Finished parts ship to addresses across North America so installers receive ready-to-fit panels and benches.
Factory-direct pricing to the United States
Factory-direct pricing and support
Manufacturers like Bsaunas and Saunafin offer direct programs that reduce markup and provide clear pricing for U.S. buyers. Saunafin advertises low factory prices, 4–7 day shipping on many orders, and free phone assistance for sizing, controls, and heater setup.
Secure packing and fast lead times
Packing, carriers, and delivery coordination
Components are crated to protect cedar faces, edges, and glass. Carriers and crating choices minimize handling damage and let you stage deliveries room-by-room.
Documentation includes packing lists and instructions so a customer can verify contents at delivery and coordinate with electrician and contractor for a smooth handoff.
| Brand | Lead Time | Support | Logistics |
|---|---|---|---|
| Bsaunas | Variable (factory schedules) | Factory-direct assistance | Crated, continent-wide shipping |
| Saunafin | 4–7 days for many orders | Phone support, sizing help | Secure packing, staged delivery |
| Notes | Order timing varies | Heater and accessory advice | Transparent pricing and documentation |
Design and Layouts: 120+ Configurations to Match Your Space
A comprehensive catalog lets buyers match precise interior footprints with ready-made layouts and custom sizing. Bsaunas offers more than 120 layout choices, from compact 3x3x7 modules to roomy 6x10x7 plans. Each entry shows suggested capacity and a starting price to simplify selection.
From 3x3x7 to 6x10x7 and beyond
From 3x3x7 to 6x10x7 and beyond
The catalog covers common footprints and custom options for irregular walls or alcoves. Depth and width drive bench geometry: choose L-shaped seating, opposing benches, or extended upper tiers to fit how many people you expect.
Ceiling height choices: 7 or 8 feet
Selectable ceilings influence both comfort and heat dynamics. A higher ceiling gives headroom but may require a slightly larger heater listed by the built-in price builder.
Material and finish consistency is maintained across layouts so additions blend well if you expand later. The price builder pairs each design with compatible heaters and controls to reduce guesswork.
Installation Overview and Timeline
A clear, staged timeline keeps the interior build efficient and predictable from delivery to commissioning. This overview outlines the main milestones and who does what so the project finishes on schedule.
DIY-friendly assembly over a weekend
Most homeowners can assemble wall, ceiling, and bench elements in a single weekend when parts arrive pre-cut and labeled.
Follow the supplied instructions step by step: verify framing and insulation, install a vapor barrier, and line walls and ceiling with cedar before fitting benches and trim.
Pre-staging tools, confirming stud layout, and dry-fitting bench components speeds the process and reduces rework.
Electrical work by a licensed electrician
All wiring and heater connection must be completed by a licensed electrician per local code and the manufacturer manual.
Schedule the electrician to run conductors, mount controls, and perform inspection before commissioning. After approval, perform a controlled break-in heat to temper wood and confirm venting and controls.
- Keep the space clean to avoid dust in hardware seats.
- Allow extra time for glass or custom door fitting and final clearances.
- Plan deliveries and inspections in advance to shorten total time on site.
| Phase | Who | Typical Time |
|---|---|---|
| Pre‑check (framing, insulation) | Owner/Contractor | 1 day |
| Interior assembly (panels, benches) | DIYer / Builder | Weekend (1–2 days) |
| Electrical, heater hookup | Licensed electrician | Half day + inspection |
"A methodical approach yields a professional finish with predictable scheduling—from unboxing to your first session on time."
Doors, Glass, and Aesthetic Options
Choosing large glazing or exterior‑facing walls changes both the visual design and the heater sizing required. Glass elevates light and sightlines, but it increases heat loss and can change how quickly the room reaches target temperatures.
Impact of glazing and exterior walls on heater sizing
Suppliers commonly recommend upsizing the heater when you add large glass panels or place a wall to the outdoors. Exterior exposure raises heat demand, so plan for a modest power step up or improved insulation to keep upper benches warm.
- Glazing: Full or half‑glass doors boost perceived space but increase heat load; use the configurator to check price and power impacts.
- Exterior walls: Factor exposure into heater sizing to avoid cold spots on upper benches.
- Hardware: Choose handles and hinges rated for humidity and thermal cycling to prevent binding.
- Placement: Keep glass near seating to preserve sightlines while avoiding direct radiant hotspots.
- Privacy: Etched or smoked panels give seclusion without losing ambient light.
- Maintenance: Clean glass and inspect gaskets regularly to maintain a quiet seal and efficient performance.
| Option | Design Effect | Performance Note |
|---|---|---|
| Full‑glass door | Open, modern | May require larger heater |
| Half‑glass door | Light + privacy balance | Moderate heat impact |
| Opaque door | Traditional cedar sauna look | Best thermal retention |
Outdoor Saunas and Weather Considerations
An outdoor installation needs a weather-tight shell before the cedar interior is dropped in. A framed, insulated shed or cabana gives the interior a stable environment and prevents moisture cycles that damage wood and fittings.
Insulation and framing tips: use continuous insulation, a proper vapor barrier, and roof overhangs to shed rain and snow. Elevate the structure on a drained foundation to keep the subfloor dry and stable.
Placement matters. Site the unit out of prevailing winds, allow service access for electrical or chimney work, and plan roof loads for snow in colder states.
- Plan wiring or chimney routes early and respect clearances for future maintenance.
- Increase heater capacity modestly or add insulation where exterior walls raise heat loss.
- Balance ventilation: intake near the heater, exhaust high and opposite for steady air exchange.
Durable finishes, flashing, and sealed penetrations extend life in freeze‑thaw climates. Thoughtful lighting, steps, and non‑slip surfaces improve safety for evening use.
"A well-planned envelope ensures consistent performance through seasonal swings."
Pricing and Value: From Entry-Level to Premium Cedar
Budgeting begins with clear choices about size, wood grade, and the heater package you plan to install. Room volume and material selection drive most costs; simple changes to doors or glazing can shift needs for more powerful sauna heaters.
Budgeting for size, cedar grade, and heater
Typical starting prices span compact to spacious footprints: a 3x3x7 begins near $1,154, 3x8x7 around $1,900, 4x8x7 near $2,040, 5x10x7 about $2,843, and 6x10x7 roughly $2,902.
Clear red cedar commands a premium for a uniform finish, while knotty cedar reduces upfront cost and adds rustic character. Hybrid combinations balance looks and budget.
Doors, glazing, and electric heaters are common add-ons that increase line-item totals and may require a larger heater class for comfortable bench temperatures.
- Budget drivers: room size, cedar quality, doors/glass, and heater choice.
- Factory-direct delivery to the United States keeps pricing competitive and includes secure shipping and component lists.
- Use the configurator to view compatible components, recommended heater sizes, and per-option pricing before you place an order.
Accessories to Complete Your Sauna Experience
Thoughtful accessories turn a finished cedar interior into a practical and relaxing ritual space. A few well-chosen items improve safety, scent, and comfort without complicating installation or use.
Buckets, ladles, thermometers, and essences
Start with the basics: a wooden bucket and ladle let users pour small amounts of warm water onto hot stones. This protects the heater and keeps steam predictable while preserving stone heat recovery.
Include a reliable thermometer/hygrometer mounted at bench level to monitor conditions. Add a simple clock to pace sessions and avoid overexposure.

- Choose sauna-safe essences and add them sparingly to water; avoid oils that harm stones.
- Wood accessories match the cedar sauna interior and stand up to high heat.
- Comfort items—backrests, headrests, and towel hooks—raise usability and keep the room tidy.
- Install glare-free lighting rated for high temperatures and keep a soft brush for routine bench care.
"A small starter kit ensures you have essentials ready on day one."
Quality You Can Trust: Decades of Craftsmanship and Support
Long-standing workshops and mills have refined panel and bench work through decades of hands-on feedback. This heritage translates into tighter tolerances, consistent grading, and clearer assembly steps for buyers.
Serving North America since the 1960s–1970s
Brands such as Saunafin promote “Quality Service & Craftsmanship Since 1962.” Home Saunas brought DIY lineage in 1974, and those early efforts shaped today’s layouts and hardware choices.
Decades of field feedback inform ergonomic bench profiles, stone placement, and ventilation recommendations that improve everyday use.
Free phone assistance and detailed instructions
Factory-direct manufacturers back products with short lead times and clear support. Saunafin lists 4–7 day shipping for many items and free phone help to match heaters, controls, and glazing to room volume.
- Consistent grading: 100% Canadian cedar and careful profiling lower warping risk.
- Free phone assistance pairs customers with specialists before and after delivery.
- Detailed instructions standardize assembly so first-time builders reach pro results.
"Heritage plus modern controls and responsive support shortens the path from delivery to dependable, restorative sessions."
DIY Sauna Kit vs Prefab Sauna: Which Is Right for You?
Choosing between a material kit and a prefab room starts with a clear view of your site and schedule. If you have a framed, insulated shell or plan a modest build, a material kit gives flexibility for tailored dimensions and finishes.
Material kits for framed spaces
Material kits supply the cedar interior and benchwork to line an existing framed shell. They let installers match odd nooks, blend with decor, and tweak bench layouts.
These kits are ideal for a home remodel or a dedicated framed room where precise fit matters. A diy sauna approach saves money on custom millwork and lets you choose clear or knotty finishes.
Prefab for no-renovation installs
Prefab rooms arrive as engineered panels or fully freestanding modules. They minimize trade coordination and cut project time, which suits finished basements and apartments.
- Prefab options include traditional heated rooms and infrared models for lower ambient temps.
- Both routes require correct electrical service, ventilation, and safe clearances.
"Compare total installed cost, timeline, and site constraints—not just the base price—before you decide."
Care, Maintenance, and Warranty
Small, consistent actions — cleaning, inspection, and correct steam use — extend component life and performance.
Protecting cedar for years of use
Routine care keeps the interior safe and attractive over time. Follow the heater manual for safe steam practices and use a licensed electrician for any wiring to preserve warranty coverage.
- Brush benches and vacuum debris regularly; light sanding restores surfaces without chemicals.
- Check stones often and replace fractured pieces to maintain heat flow and efficiency.
- Wipe glass and hardware to prevent mineral buildup and to keep doors operating smoothly.
- Follow the heater manual for löyly: pour moderate amounts of warm water and allow stones to reheat between pours.
- Inspect fasteners and bench supports yearly to ensure structural integrity under thermal cycling.
- Keep ventilation paths clear; good airflow lengthens component life and improves comfort.
- Observe warranty terms: manufacturers often include a 1-year warranty on core components and heaters when installation and clearances follow instructions.
- For outdoor or exposed sites, check seals and gaskets each season and confirm weatherproofing is intact.
- Avoid topical finishes not rated for high heat; unfinished cedar ages gracefully and is easier to maintain.
"A simple, regular care routine keeps the room beautiful and functional for many seasons of reliable use."
Conclusion
A clear decision on layout, material, and heater makes the final buying and installation steps simple and predictable.
Choose a Canadian-made interior for trusted western red quality and broad logistics support—many suppliers offer 120+ layouts and factory-direct help.
Pick clear cedar for a modern, uniform look or knotty cedar for rustic charm; hybrid mixes balance value and touch. Match a HUUM, Harvia, or Homecraft heater to room volume and account for glass or exterior walls when upsizing power.
Assembly is weekend-friendly for most DIYers, with wiring completed by a licensed electrician to protect safety and warranties. Select your layout, grade your red cedar, and choose a compatible sauna kit and heater to start the project with confidence.
FAQ
What sizes are available for compact, mid-size, and spacious kits?
Compact layouts typically start at about 3 ft deep for 1–2 people, mid-size kits range from 4–5 ft deep and fit 2–5 people, and spacious configurations are often 6 ft deep or larger for up to six users. Width and bench arrangement also change usable capacity, so confirm dimensions and benching before ordering.
Can these kits be installed indoors and outdoors?
Yes. Kits are designed for framed indoor rooms or framed outdoor structures such as sheds, garages, or cabins. Indoor drop-in installs need proper ventilation and electrical work; outdoor installs require weatherproofing, insulation, and attention to siting.
Which cedar options are offered and how do they differ?
Canadian western red cedar is available in clear and knotty grades. Clear cedar gives a uniform, modern look; knotty cedar offers a warm, rustic character. Hybrid builds combining clear benches and knotty walls are also common for mixed aesthetics.
How do I size a heater for my kit?
Size heaters by the room's cubic volume (length × width × height). Electric heaters list recommended cubic-foot coverage. Account for glass doors or exterior walls, which can increase heating load. When in doubt, consult manufacturer heater charts or a licensed electrician.
What are the differences between electric and wood-burning heaters?
Electric heaters provide fast, controlled heating and integrate with control systems. Wood-burning stoves deliver traditional steam and aroma and work well for remote outdoor builds without reliable power. Each type has ventilation and clearance requirements.
What components come standard in a DIY sauna kit?
Standard kits include cedar paneling, benches, trim, fasteners, and core components. Optional items often include doors, windows, heaters, controls, and insulation. Confirm the parts list with the manufacturer before purchase.
Do manufacturers ship to the United States and how are kits packaged?
Many manufacturers build in Canada and ship factory-direct across North America, including the United States. Kits are typically securely packed on pallets with protective wrapping and clear component labeling to reduce transit damage and simplify assembly.
What configuration and ceiling height options are available?
Configurations range from small footprints like 3×3×7 to large designs such as 6×10×7 or larger. Ceiling heights commonly come in 7- or 8-foot choices; higher ceilings change room volume and can affect heater selection and heat stratification.
How long does assembly and installation take?
DIY-friendly kits can be assembled over a weekend by two people for modest sizes. Complex builds, electrical work, or custom finishes extend timelines. All electrical connections should be completed by a licensed electrician.
How do glass doors or large windows affect heater sizing?
Glass increases heat loss and may require a larger heater or additional insulation. When planning a design with significant glazing, use heater sizing charts that account for glass area or consult the manufacturer for guidance.
What weather considerations apply to outdoor installations?
Outdoor builds need durable framing, proper insulation, vapor barriers, and elevated foundations or pads to avoid moisture. Consider prevailing winds, drainage, and protection for the heater and controls from the elements.
How should I budget for a kit, cedar grade, and heater?
Pricing varies by size, cedar grade (clear versus knotty), heater type, and included accessories. Entry-level kits start lower, while premium clear western red cedar with high-end electric heaters increase cost. Factor shipping, installation, and optional accessories into total budget.
What accessories are recommended to complete the experience?
Essential accessories include ladles, buckets, thermometers, hygrometers, headrests, and protective flooring mats. Optional upgrades include aromatherapy essences, LED lighting, and upgraded control systems.
How long have manufacturers been producing these kits and what support is offered?
Many reputable manufacturers have decades of experience, serving North America since the 1960s–1970s. They typically provide detailed instructions, phone support, and component warranties to help with assembly and long-term care.
Should I choose a DIY kit or a prefab sauna?
Choose a material kit if you have a framed space and prefer customization or lower cost. Prefab units suit buyers who want minimal on-site work and quicker installation. Consider available space, skill level, and whether you need electrical or carpentry trades.
What maintenance does cedar require to ensure longevity?
Cedar needs simple care: keep surfaces clean, avoid harsh chemicals, and lightly sand high-wear areas over time. Maintain ventilation to prevent mold, and follow the manufacturer's warranty guidelines. Proper care preserves appearance and performance for years.
Written by Reid Hollis


Leave a comment
This site is protected by hCaptcha and the hCaptcha Privacy Policy and Terms of Service apply.